Create Your First Chart
Now that we’ve got everything set up, it’s time to start coding. In this lesson, we’ll create a copy of the code, take a look at the files, and then start the web server to make sure everything is working fine.
Pre-conditions
Check if you have completed the activities listed in the previous lessons, the following steps in particular:
- You have downloaded the GitHub source code as described in the Set up for the course lesson.
- You have a ThoughtSpot account with Developer privileges
- You have configured the security settings to enable Custom Charts
At this point, you’ll need an editor such as an IDE or a text editor, ideally one that supports JavaScript and HTML formatting. The examples here use Visual Studio Code, a popular, free IDE, but any editor that can edit text files will work.
Set up your environment
To create and test the application, this tutorial uses a Vite project setup.
Create a new Vite project
-
Open a terminal window and run the following commands:
md custom-chart cd custom-chart -
Create a Vite project.
$ npm create vite@latest -
Configure the project name and development framework for your chart application. In this tutorial, we will use the Vanilla framework with TypeScript.
✔ Project name: … custom-bar-chart ✔ Package name: … custom-bar-chart ✔ Select a framework: › Vanilla ✔ Select a variant: › TypeScript -
Initialize your application.
npm install npm run dev -
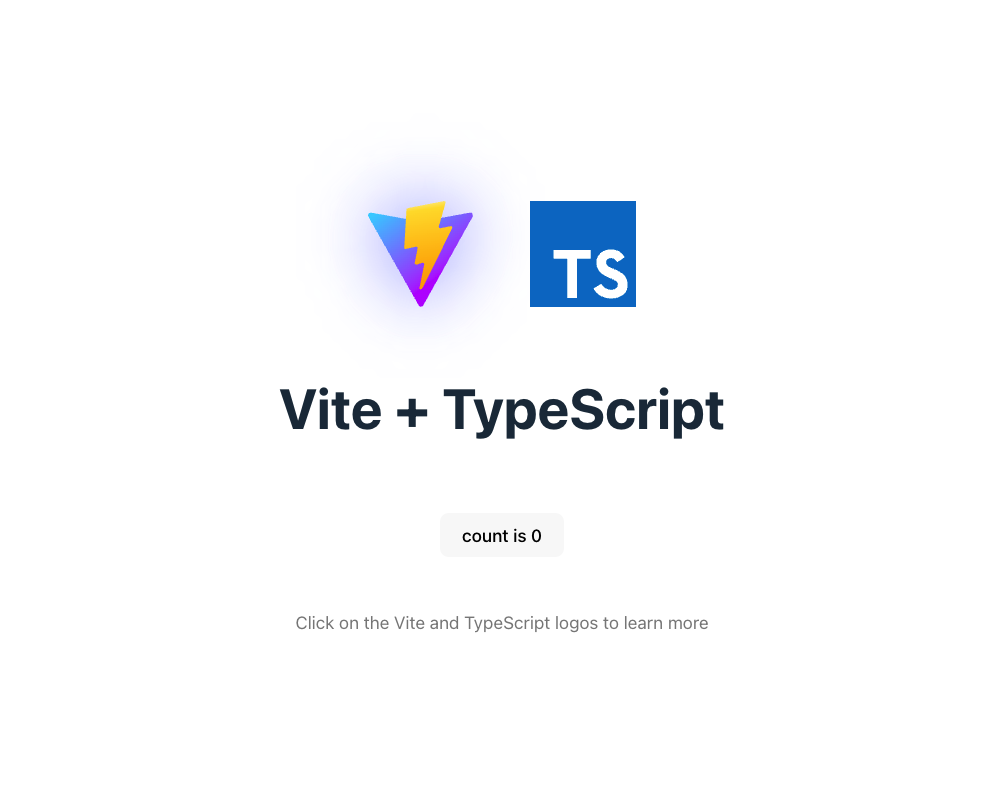
Go to the localhost link and check if the following page shows up.
Install Highcharts and lodash
npm install --save chart.js lodash chartjs-plugin-datalabels
Install the SDK
npm install --save @thoughtspot/ts-chart-sdk
Implementing Sample Bar Chart
In this section we will be rendering a sample bar chart in the application created from the preceding steps.
To implement the chart code in your application, complete these steps:
- Delete the unwanted files from your project folder.These are metioned as follow-
/public [whole folder]
/src/counter.ts
/src/typescripts.svg
/src/style.css
-
Clear
main.tsand rename it tocustom-charts.ts. This step is not necessary but we advice this nomenclature of files. -
Replace the content of
index.htmlwith the following snippet:
<!DOCTYPE html>
<html lang="en">
  <head>
    <meta charset="UTF-8" />
    <meta name="viewport" content="width=device-width, initial-scale=1.0" />
    <title>TS custom chart</title>
  </head>
  <body>
    <div style="width:99vw; height:95vh; position: relative;">
      <canvas id="chart" style="display:flex;"></canvas>
    </div>
    <script type="module" src="./custom-chart.ts"></script>
  </body>
</html>
- Import
ChartsandChartsDataLabelsusing following lines :
import Chart from "chart.js/auto";
import ChartDataLabels from "chartjs-plugin-datalabels";
- We are creating this sample chart with the help
chart.jsandchartjs-plugin-datalabelsplugin. Here is the snippet-
var ctx = document.getElementById("chart").getContext("2d");
var myChart = new Chart(ctx, {
  type: "bar",
  data: {
    labels: ["Red", "Blue", "Yellow", "Green", "Purple", "Orange"],
    datasets: [
      {
        label: "# of Votes",
        data: [12, 19, 3, 5, 2, 3],
        backgroundColor: [
          "rgba(255, 99, 132, 0.2)",
          "rgba(54, 162, 235, 0.2)",
          "rgba(255, 206, 86, 0.2)",
          "rgba(75, 192, 192, 0.2)",
          "rgba(153, 102, 255, 0.2)",
          "rgba(255, 159, 64, 0.2)",
        ],
        borderColor: [
          "rgba(255, 99, 132, 1)",
          "rgba(54, 162, 235, 1)",
          "rgba(255, 206, 86, 1)",
          "rgba(75, 192, 192, 1)",
          "rgba(153, 102, 255, 1)",
          "rgba(255, 159, 64, 1)",
        ],
        borderWidth: 1,
      },
    ],
  },
  options: {
    plugins: {
      datalabels: {
        color: "white",
        anchor: "end",
        align: "top",
        formatter: function (value, context) {
          return value + "%";
        },
      },
    },
  },
});
- Your final folder structure should look like this:
.
├── index.html
├── package-lock.json
├── package.json
│── custom-charts.ts
└── tsconfig.json
- Now you can run this using
npm run devcommand in your project root directry.You should see chart rendering.